Gravlax – Cured Salmon
Gravlax is more than just cured salmon; it's a culinary masterpiece that embodies the spirit of the holidays. The word "gravlax" itself, which translates to "buried salmon," hints at the traditional method of curing the fish in a mixture of salt, sugar, and fresh dill. This process, which can take anywhere from 24 to 72 hours, transforms the salmon's texture into a silky, buttery delight and infuses it with a delicate, herbaceous flavor.
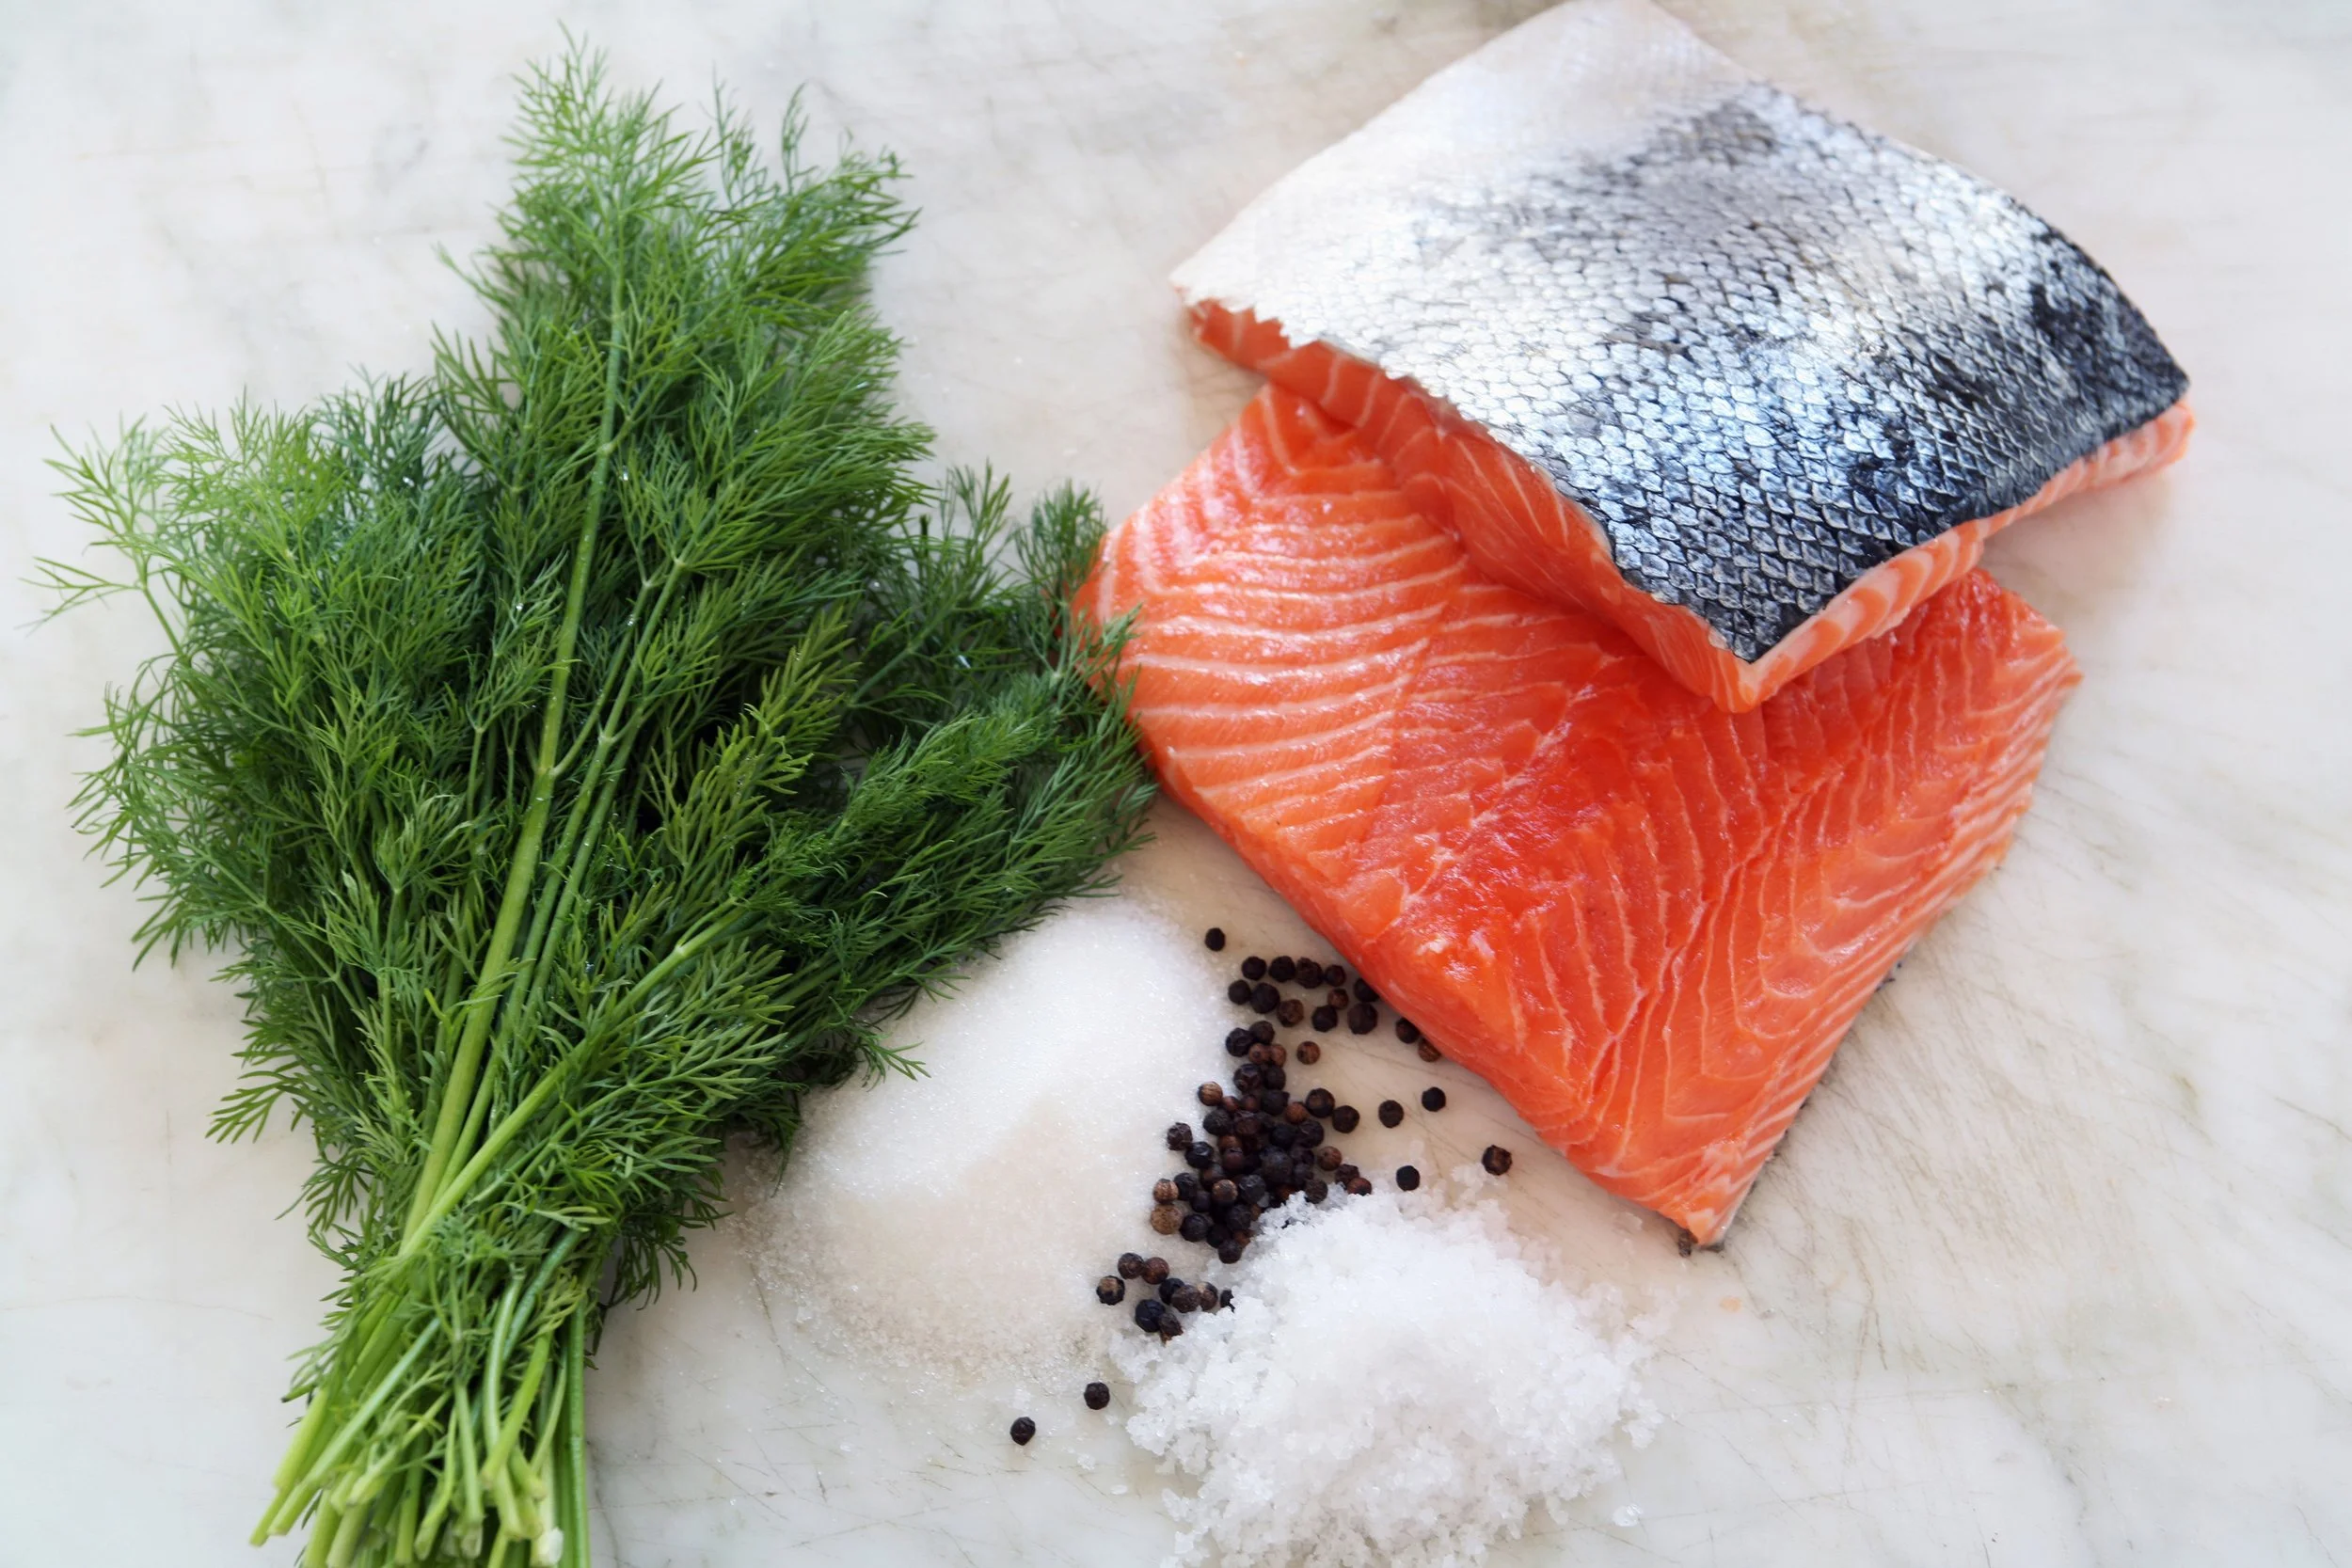
One of the greatest things about gravlax is its simplicity and elegance. With minimal effort, you can create a show-stopping appetizer that will impress your guests and elevate your holiday feast. The vibrant pink and orange hues of the salmon, speckled with green dill and black pepper, make for a stunning presentation. It's also a fantastic make-ahead dish, freeing up valuable time on the big day. You can slice it thin and serve it with a classic dill-mustard sauce, on rye bread with a squeeze of lemon, or as part of a lavish charcuterie board.

Here at Intershell, we believe the key to exceptional gravlax starts with the highest quality, sushi-grade salmon. We recommend using a fresh, skin-on salmon fillet, ideally from the king or Atlantic varieties.
Ingredients
-
½ Cup - Salt
-
½ Cup - Sugar
-
2 Portions of Fresh Sashimi Grade Salmon, 1-2Lb. size portions are recommended.
-
Handful of Fresh Dill (Optional)
-
Gallon Size Plastic Ziploc Bag
-
Weight – Something heavy (like a book) to put on top of the fillets as they cure.
Prep Time: 10 minutes | Cure Time: 3-5 Days
-
In a bowl, mix ½ cup of salt and ½ cup of sugar. Adjust the measurements of the salt and sugar depending on how much salmon you plan to cure, but make sure it is always a 50/50 mixture.
-
Evenly coat all the salt/sugar mixture on the salmon portions - don’t be afraid to use a heavy hand. You should not be able to see the coloring of the salmon through the salt & sugar.
-
Optional: Finley chop up a handful of fresh dill and coat the salmon portions.
-
Grab your 2 salmon portions with the salt, sugar, and dill on top - put them on top of one another with the skin of the salmon on the outside.
-
Put the salmon in the gallon bag, seal it, and place the portion skin side down on the surface.
-
Place a weight on top of the salmon sitting in the Ziploc bag in the refrigerator – anything heavy (like a heavy cook book) will do.
-
After 24 hours, turn the whole bag with the portions in onto the other side. Reposition the weight on the other side once turned over. Leave for another 24 hours.
-
After the second 24-hour curing process is complete, repeat the flipping process every 12 hours so both portions cure evenly. The thicker the portions are, the longer it will take to cure.
-
After 3-4 days, depending on the thickness of the portions, the curing process should be complete. Thinly slice one of the portions with a sharp knife to taste if the curing process is finished – if does not taste cured enough, you can put the salmon back into the plastic bag to cure for longer (wait another 24 hours).
-
Once the salmon has finished curing, you can remove the skin.
-
Thinly slice the salmon to serve as is or place on top of a sliced baguette with honey-dill mustard.